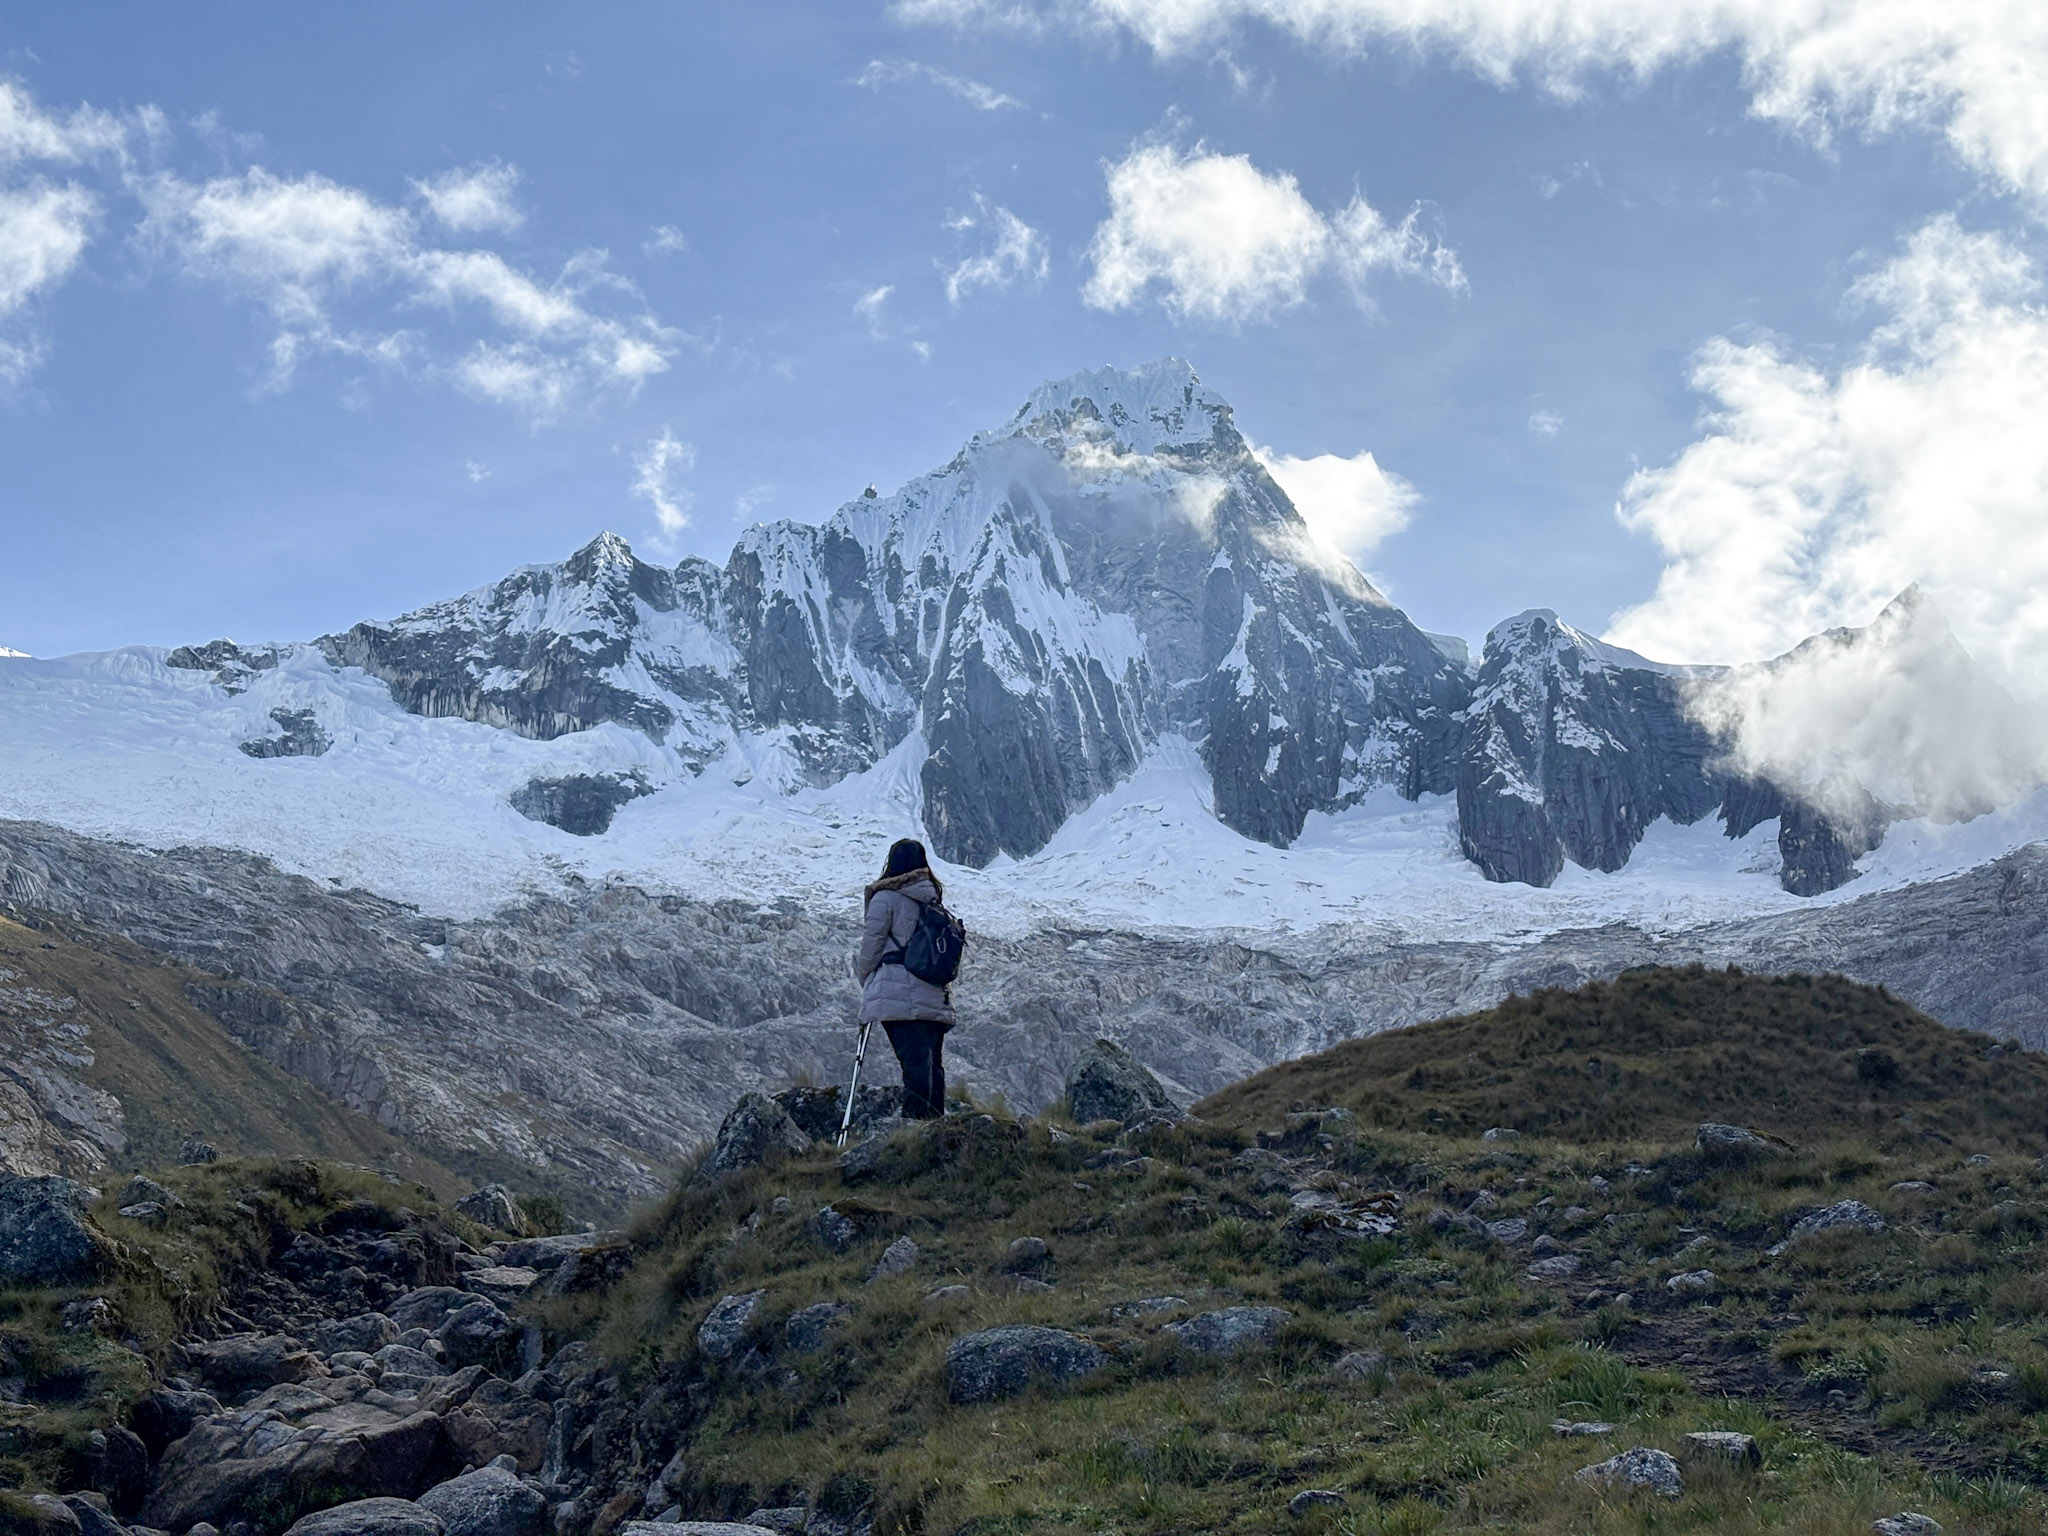
A little bit of my experience hiking in the Cordillera Blanca, the Santa Cruz Trek
There are treks you enjoy… and others that stay with you long after you finish them.
The Santa Cruz trek is definitely one of those.
It’s considered one of the most beautiful multi-day hikes in Peru, and after doing it, it’s easy to understand why.
In this guide, I’ll share my experience, what the route is like day by day, and some practical tips to help you plan it.
📍 Santa Cruz trek: quick facts (distance, altitude & difficulty)
- 📍 Location: Cordillera Blanca, Ancash
- 🥾 Distance: ~52 km
- ⛰️ Max altitude: Punta Unión (~4,750 m / 15,584 ft)
- ⏱️ Duration: 3–4 days
- 🔥 Difficulty: Moderate (mainly due to altitude)
- 🌤️ Best time: May to September
My experience hiking the Santa Cruz trek
I did the Santa Cruz trek with an agency, mainly because of logistics. Since it was my first multi-day trek in a country I didn’t know, and at high altitude above 4,000 meters, it felt like the safest decision. Even though it’s not considered an extremely difficult trek, dealing with altitude sickness alone could easily turn into a complicated situation.
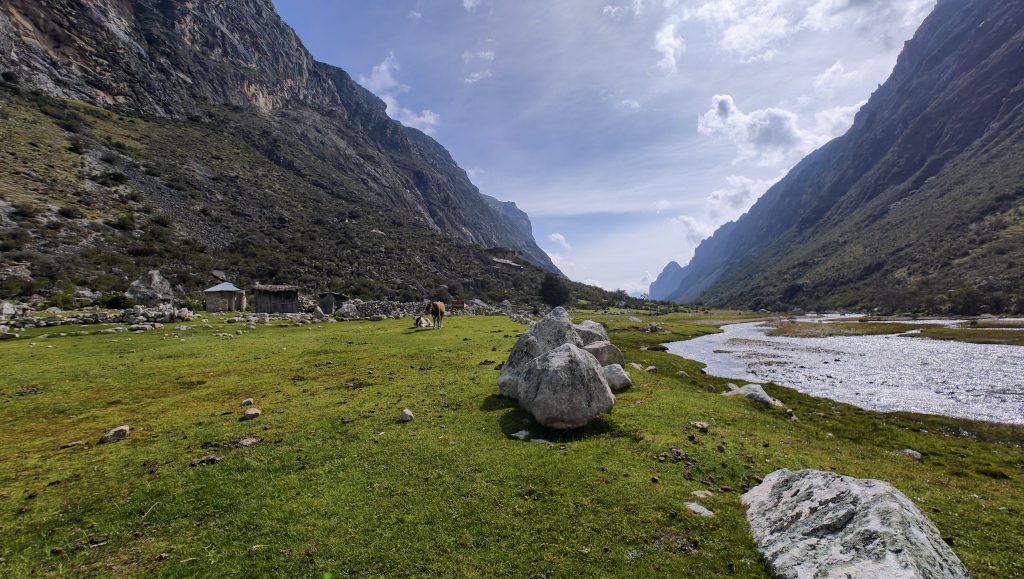
The first day starts gently. You walk through a wide valley following the river, surrounded by mountains that don’t fully reveal themselves yet, as if the landscape is saving the best for later. It’s a calm beginning and a perfect way to let your body adjust without pushing too hard.
But that’s exactly what makes this trek special: it doesn’t try to impress you right away. It builds slowly.
By the second day, everything changes. The scenery becomes much more dramatic, with turquoise lakes, sharper peaks, and that contrast between green valleys and snow that almost doesn’t feel real. It’s one of those moments where you realize every step is worth it.
And then comes the third day — the climb to Punta Unión.
This is the most demanding part of the trek. The altitude hits, your pace slows down, and every step takes more effort. But at the same time, you know you’re getting closer to the most impressive point of the route.
When you finally reach the top, everything pauses for a moment. The view opens up on both sides of the mountain range, and it’s one of those places where you don’t know whether to take pictures or just stand there and take it all in.
🗺️ Santa Cruz trek route (day by day)
The most common route is from Vaquería to Cashapampa, but in our case, we did it the other way around: from Cashapampa to Vaquería. Personally, I feel this direction allows you to enjoy the progression of the trek much more.
Day 1: Cashapampa → Llamacorral
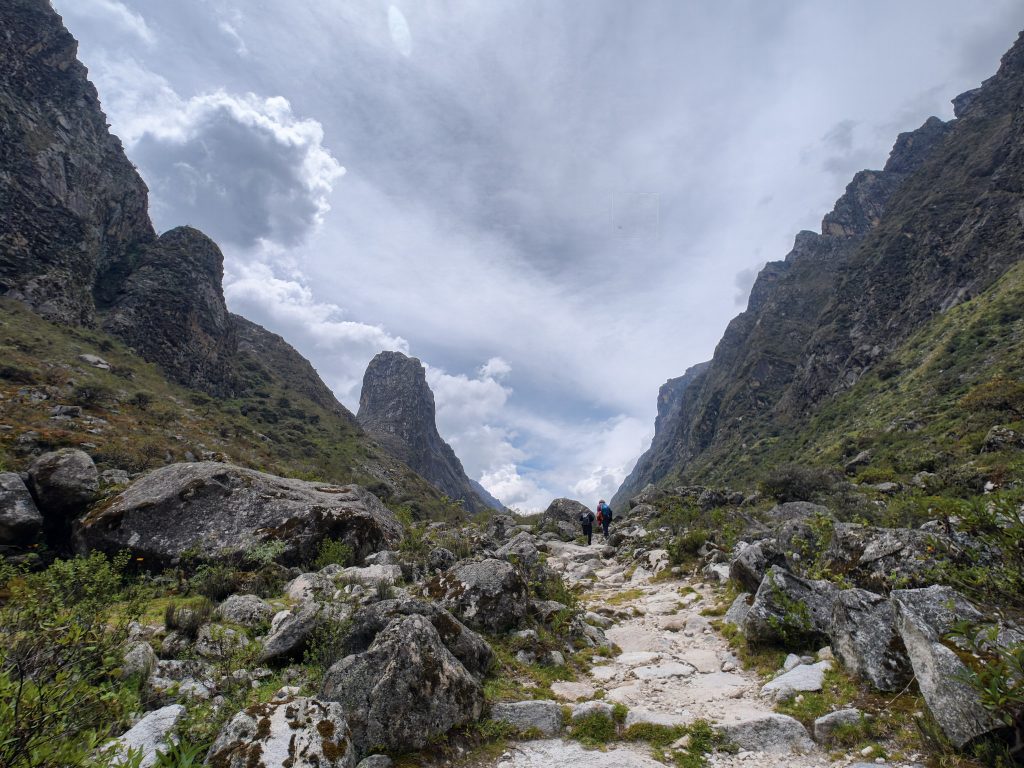
The trek starts in Cashapampa, but the day begins much earlier. If you go with an agency, you’ll usually be picked up in Huaraz around 5:00 am, followed by a 3–4 hour drive to the starting point, where you typically have breakfast before beginning the hike.
The walk to Llamacorral is relatively easy and progressive. You gradually enter the valley without any sudden elevation changes, making it ideal for adapting.
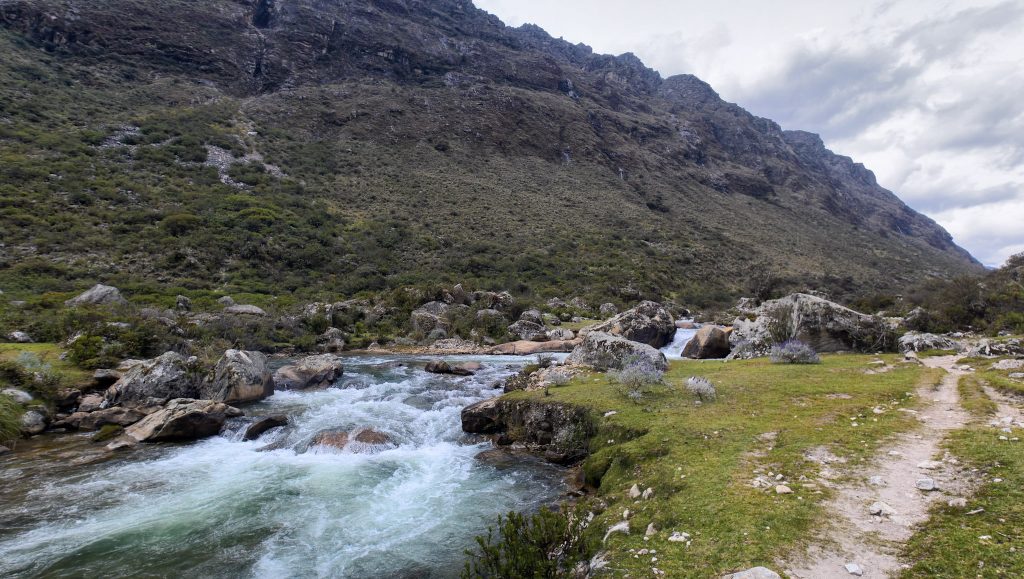
We started hiking around 10:00 am and reached the campsite between 2:30 and 3:00 pm, after about 5–6 hours of walking depending on the pace.
Day 2: Llamacorral → Taullipampa
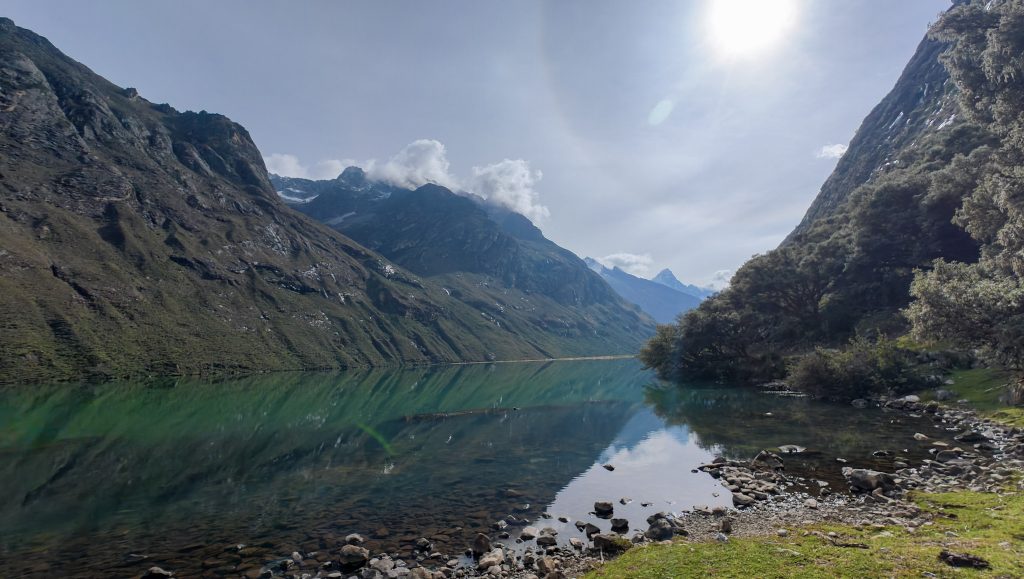
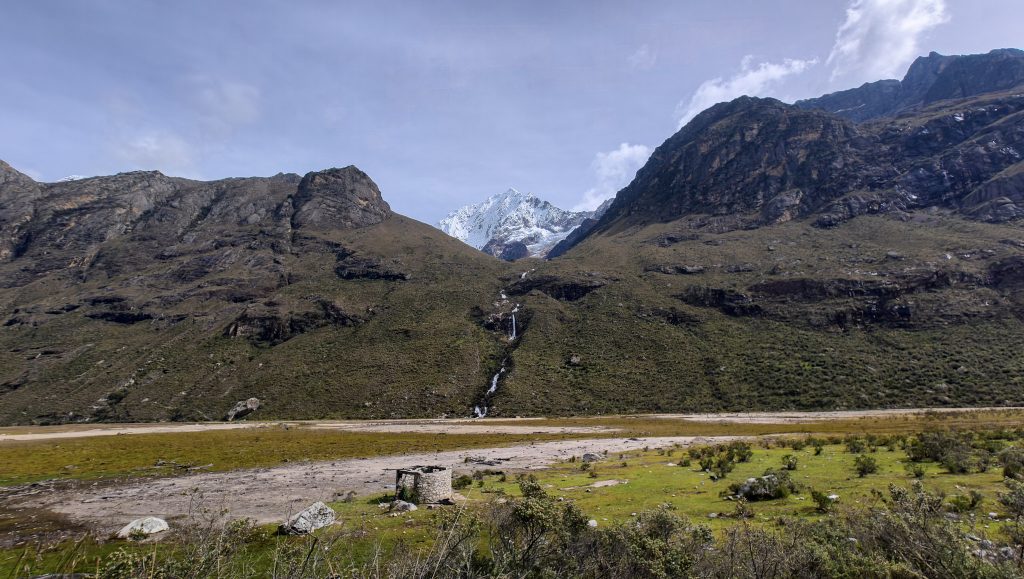
This is where the trek really starts to show its full potential.
The landscape becomes more impressive, with rivers, waterfalls, and wide views of some of the most iconic peaks in the Cordillera Blanca.
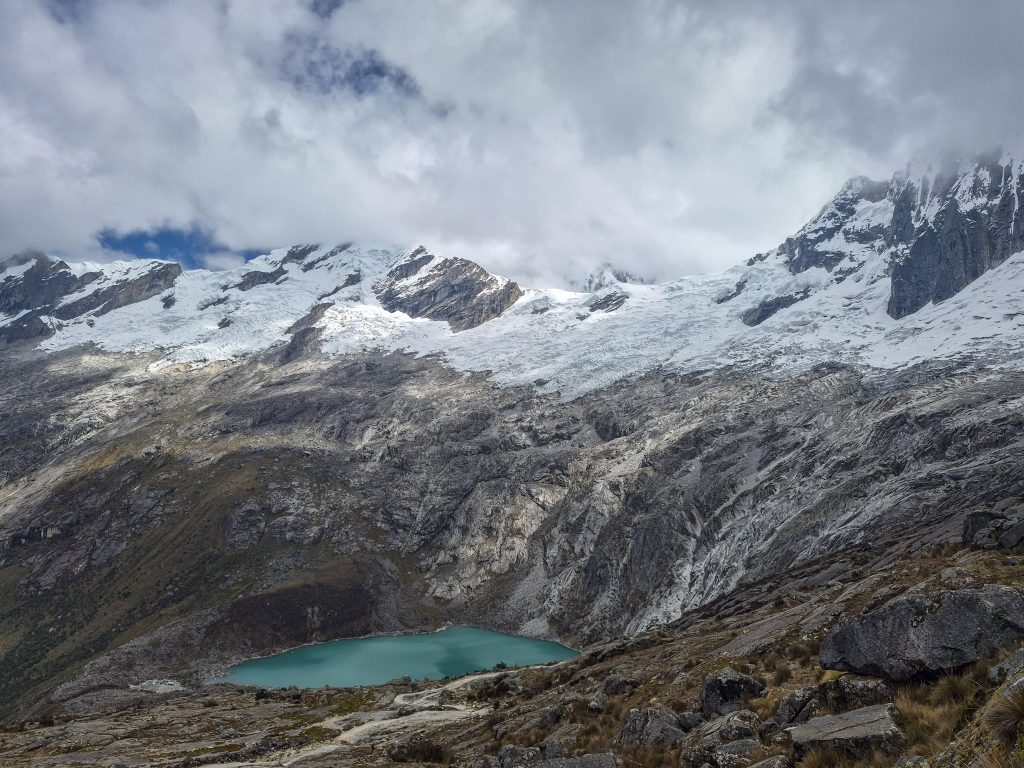
This day was the longest, with about 22 km by taking the detour to Laguna Arhuaycocha, passing viewpoints of Alpamayo (considered one of the most beautiful mountains in the world) and the well-known face of Nevado Artesonraju, famous for inspiring the Paramount logo.
Reaching the lake means climbing up to around 4,500 meters, but it’s absolutely worth it. It’s a turquoise lake surrounded by massive mountains that make you feel incredibly small.
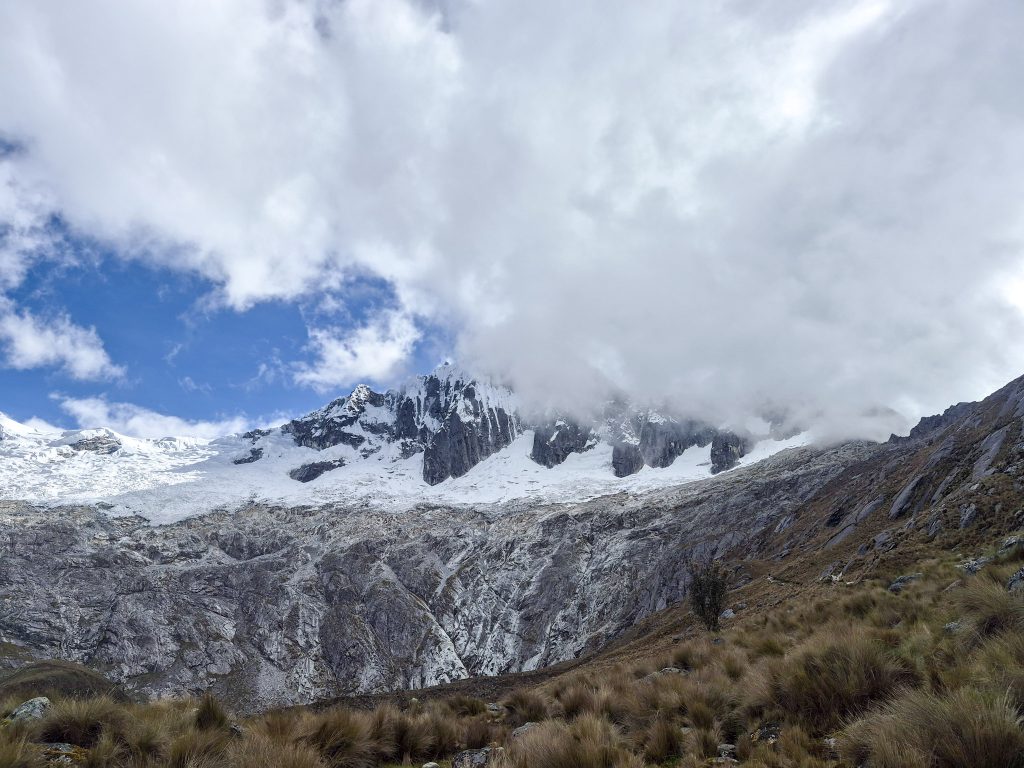
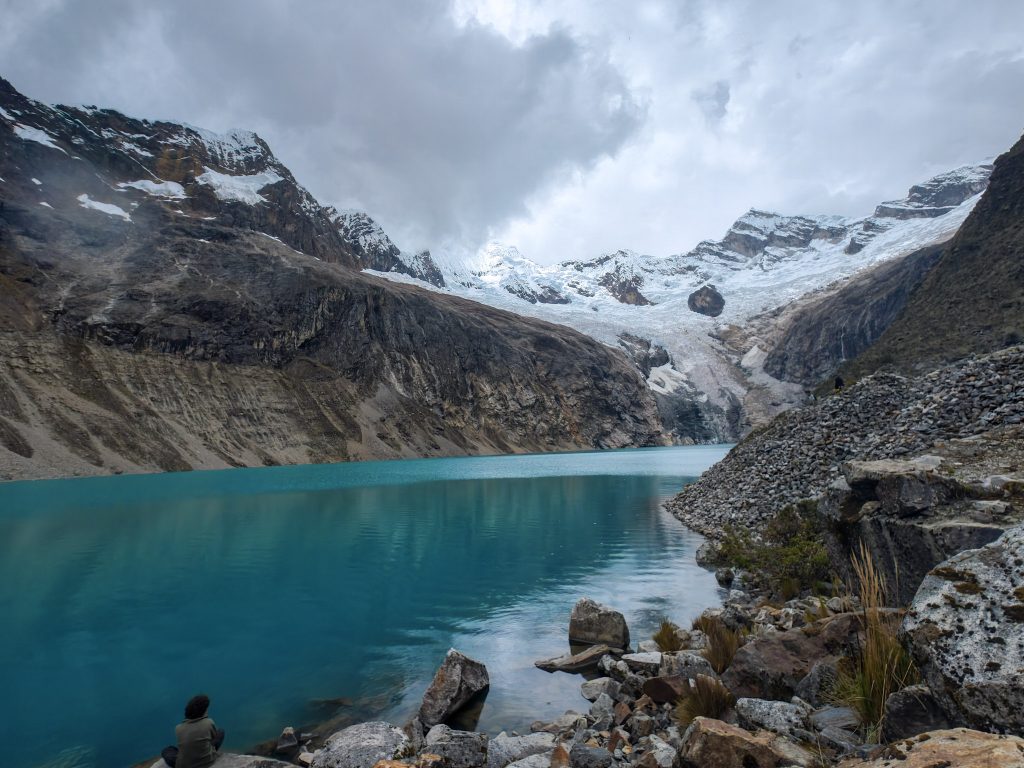
I personally love snowy peaks and rocky landscapes, so this was one of my favorite moments of the entire trek.
We ended the day at Taullipampa campsite, which in my opinion is one of the most spectacular spots of the route. Both sunset and sunrise there feel truly special.
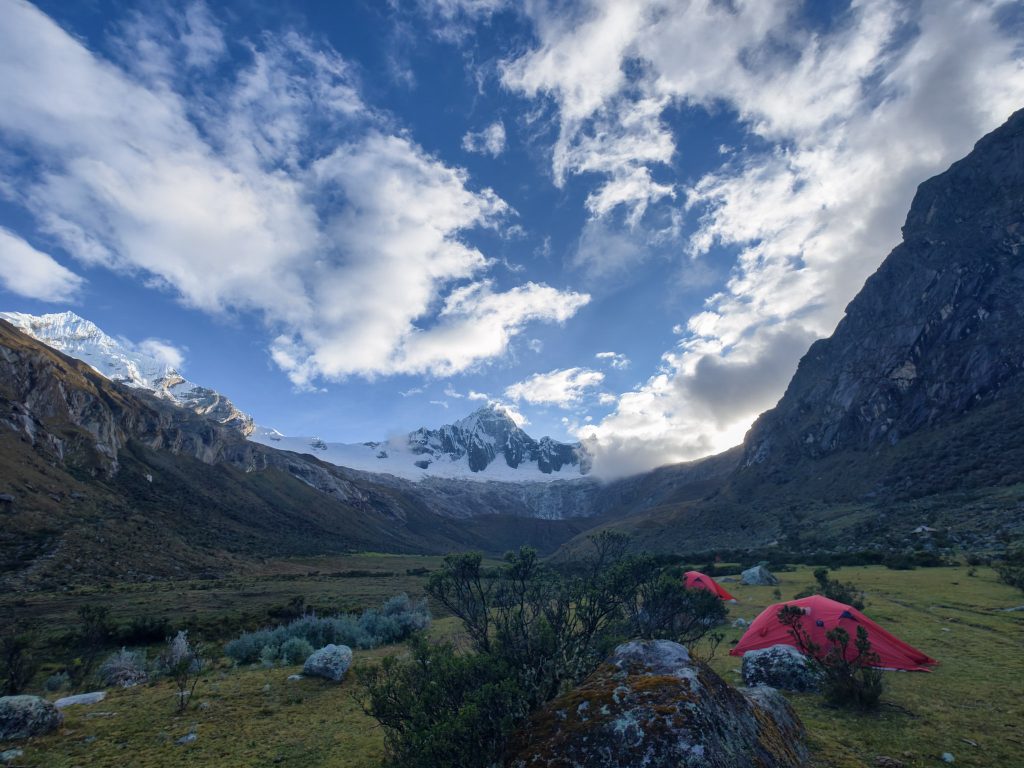
Day 3: Taullipampa → Punta Unión → Paría → National Park entrance.
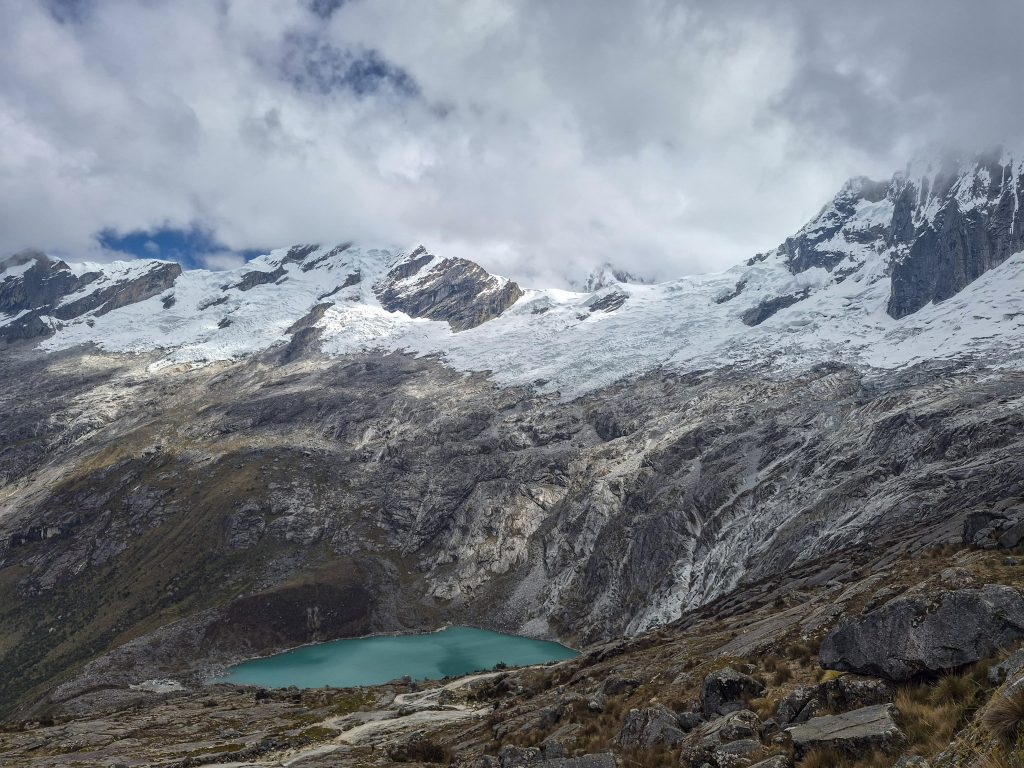
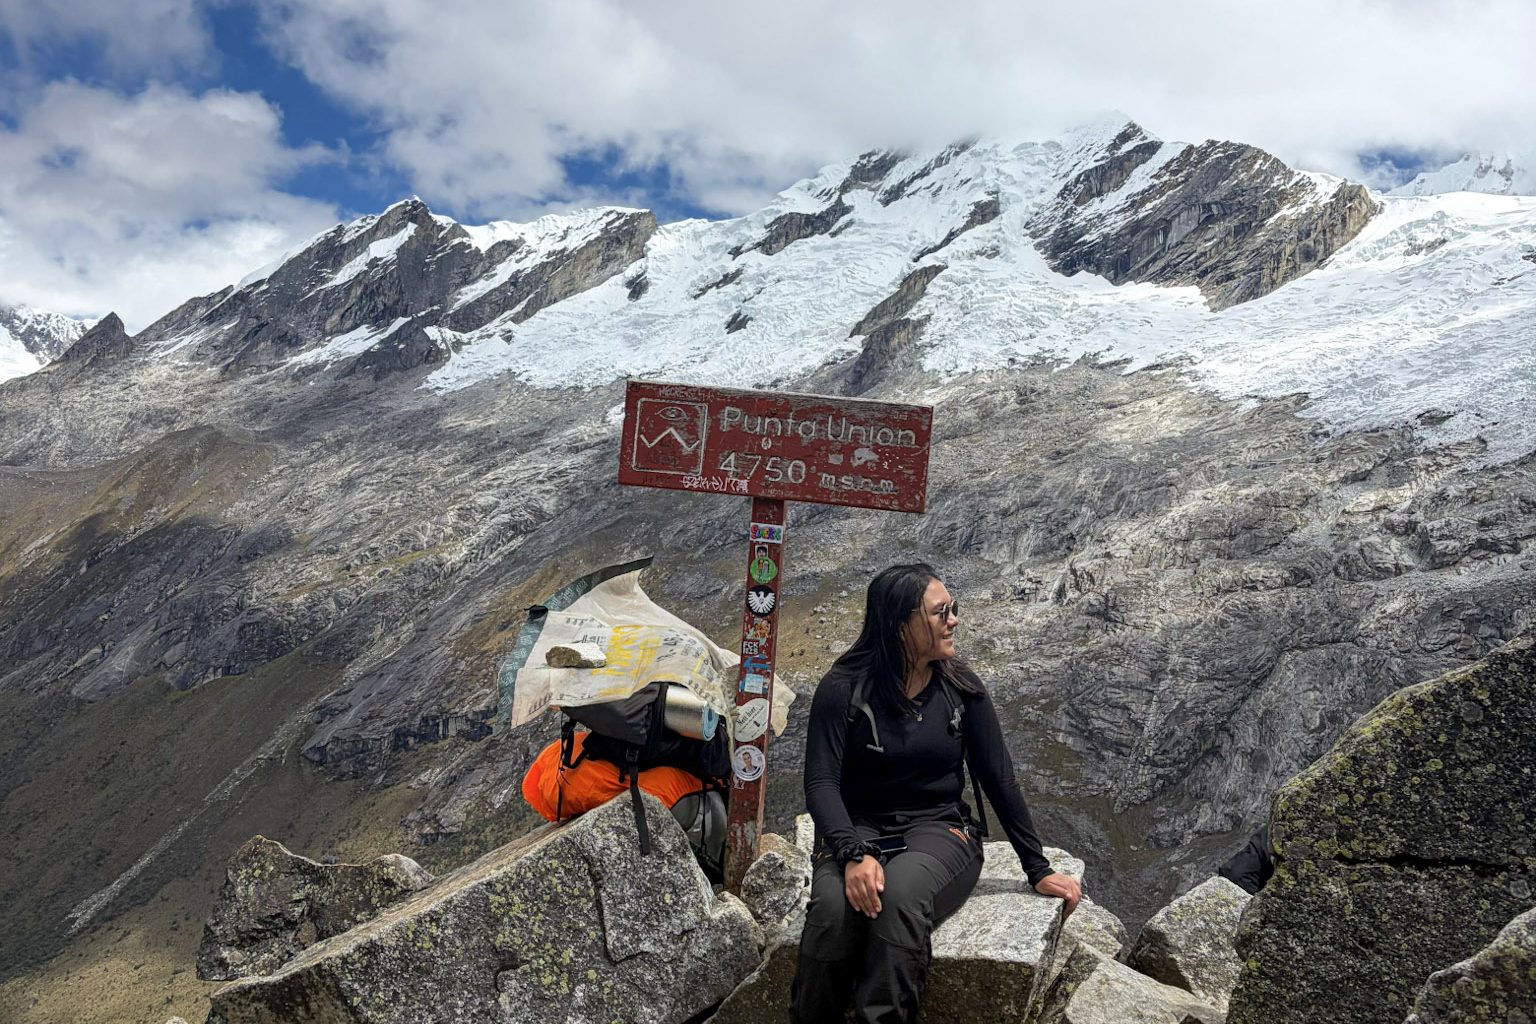
This was the most demanding day of the trek.
The climb to Punta Unión is steady and challenging due to the altitude, but it’s also the most rewarding part. From the top, you get panoramic views of both sides of the Cordillera Blanca.
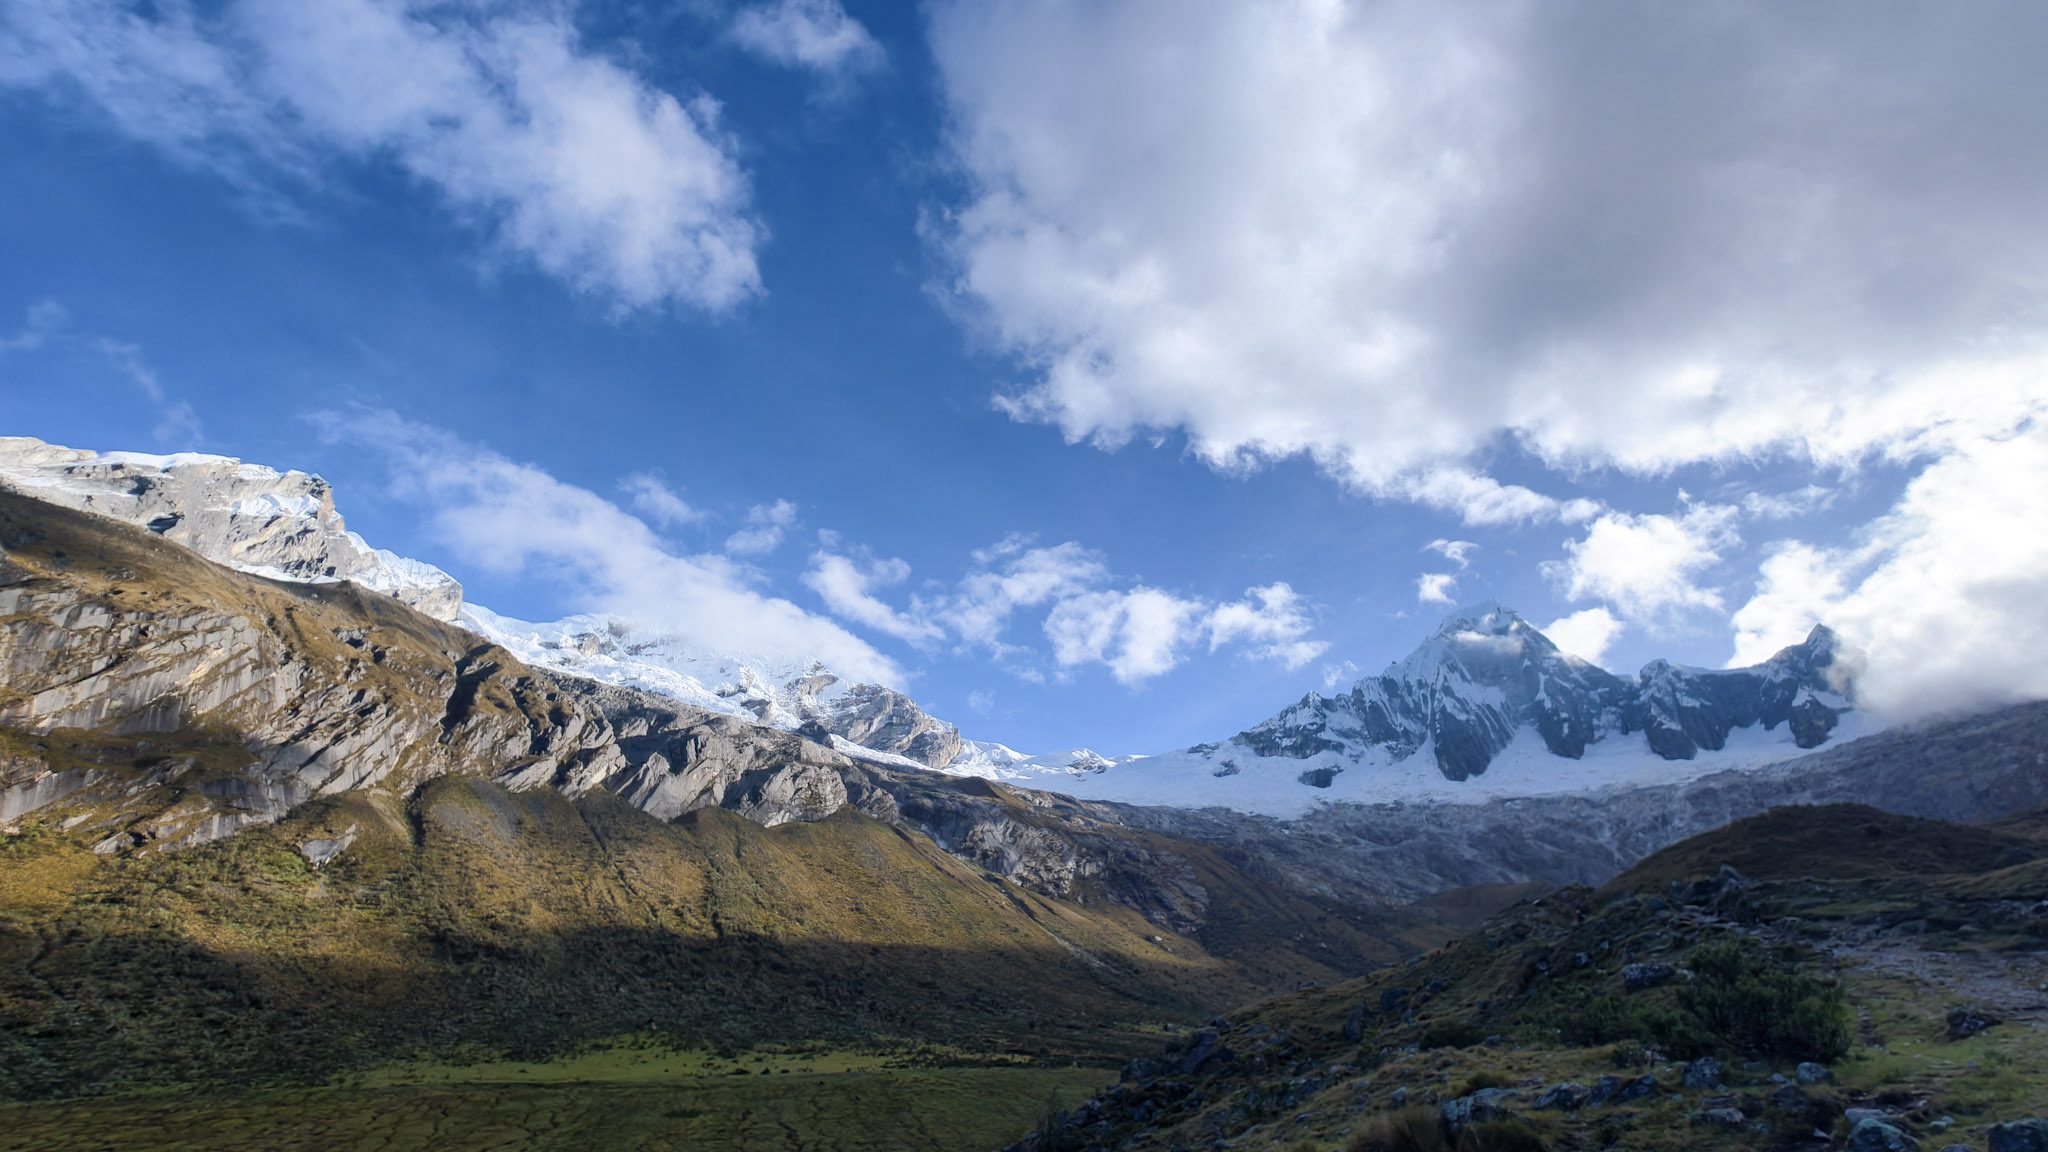
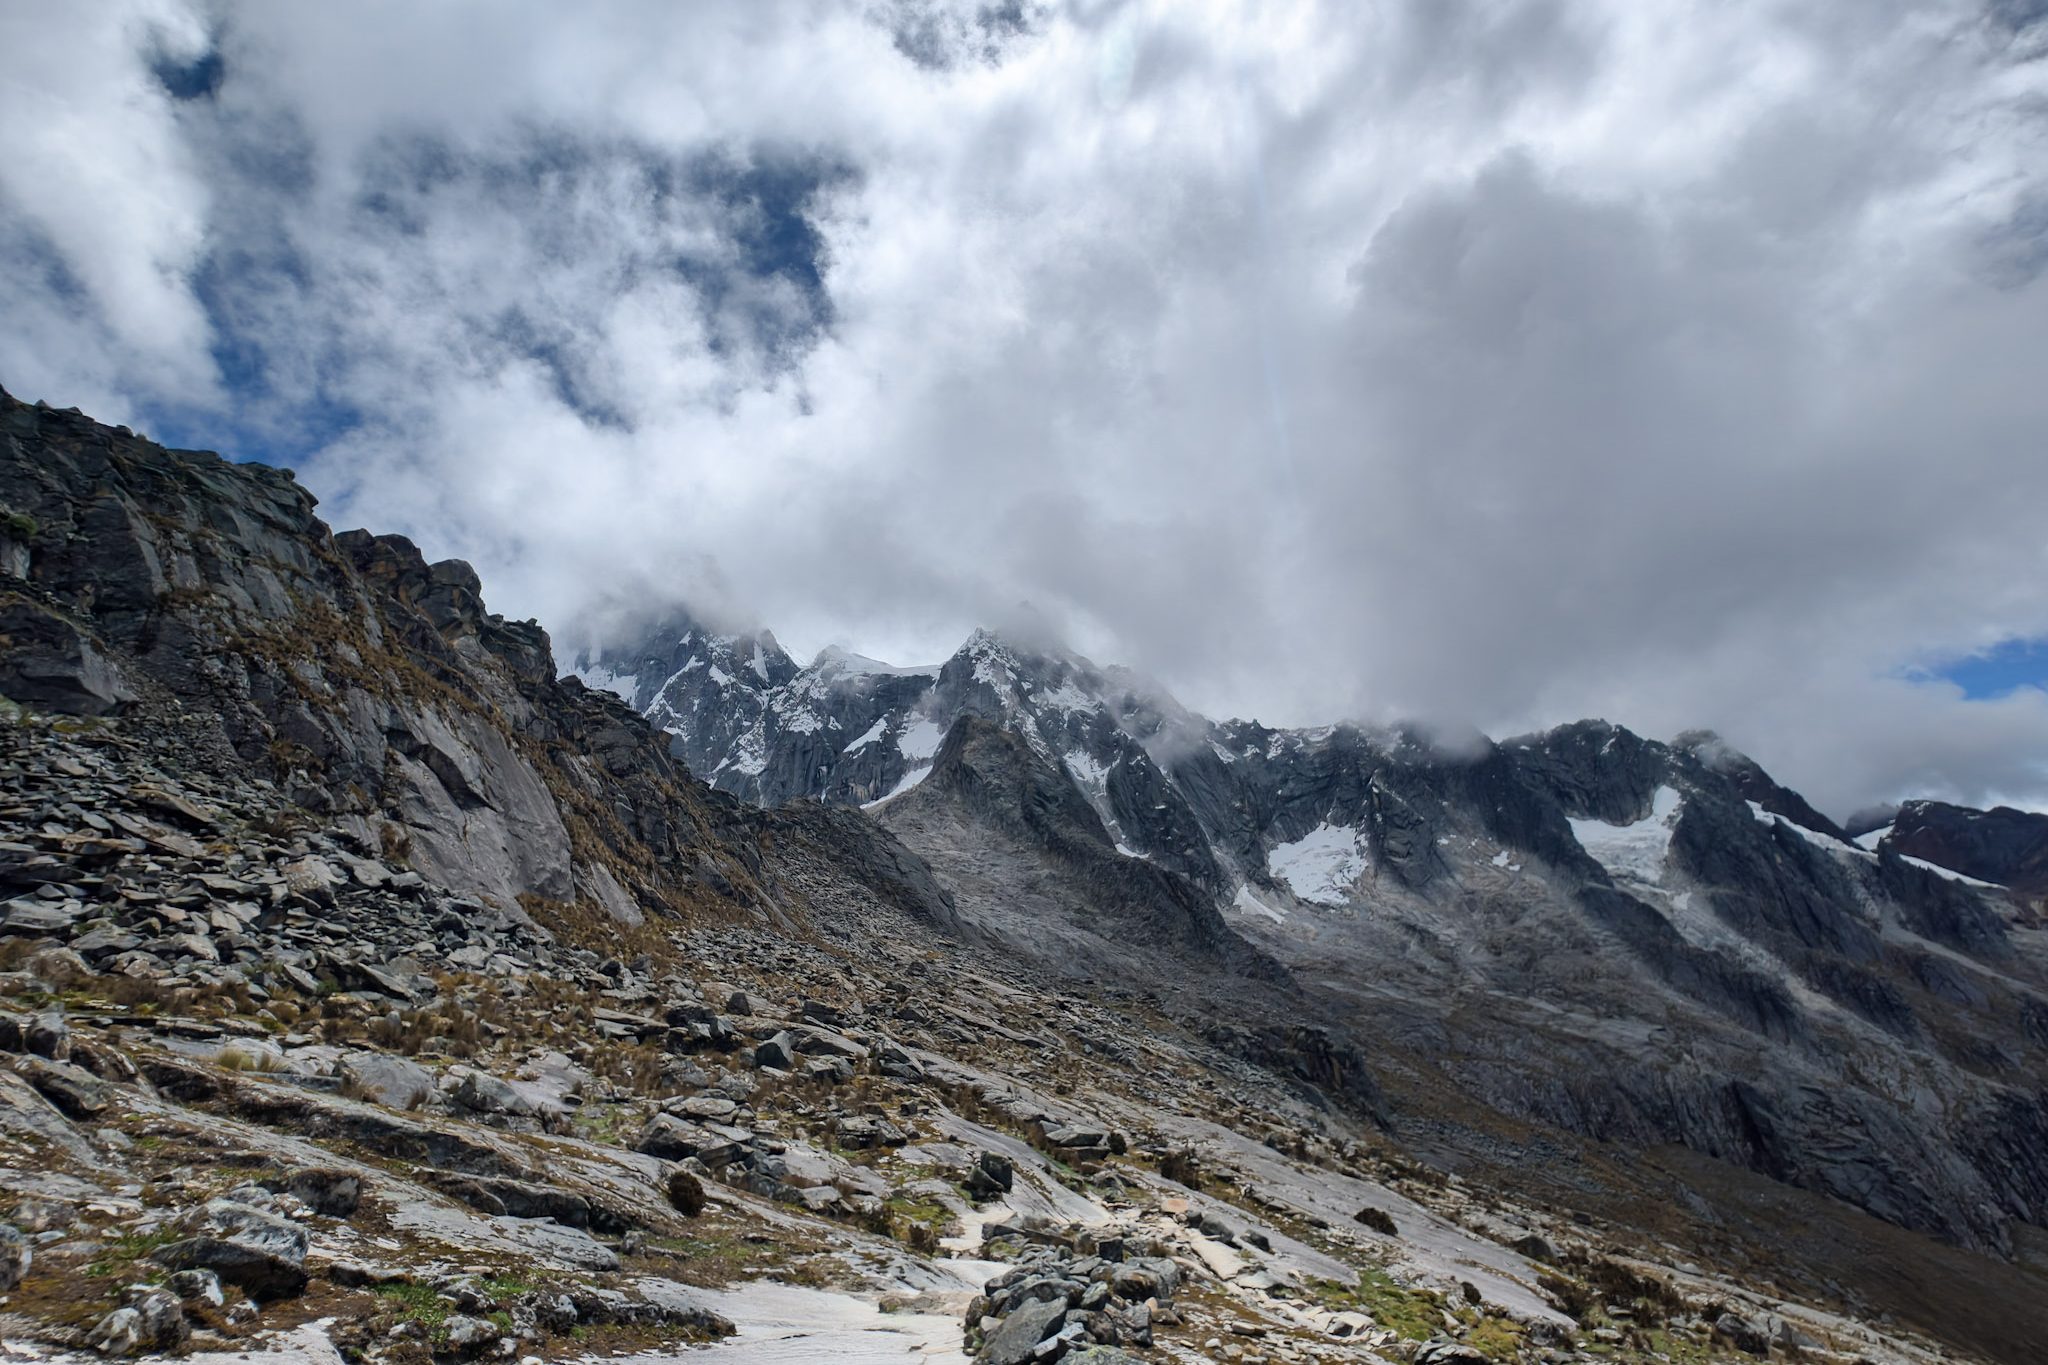
After crossing the pass, the descent begins toward Paria.
For us, this day had an unexpected twist: the donkeys got lost. So together with our guide, we decided to keep moving as far as possible toward the park entrance, just in case they didn’t catch up with our camping gear and food.
Fortunately, Víctor, our muleteer, managed to find them and reached us later that day. We ended up camping near the entrance of Huascarán National Park.
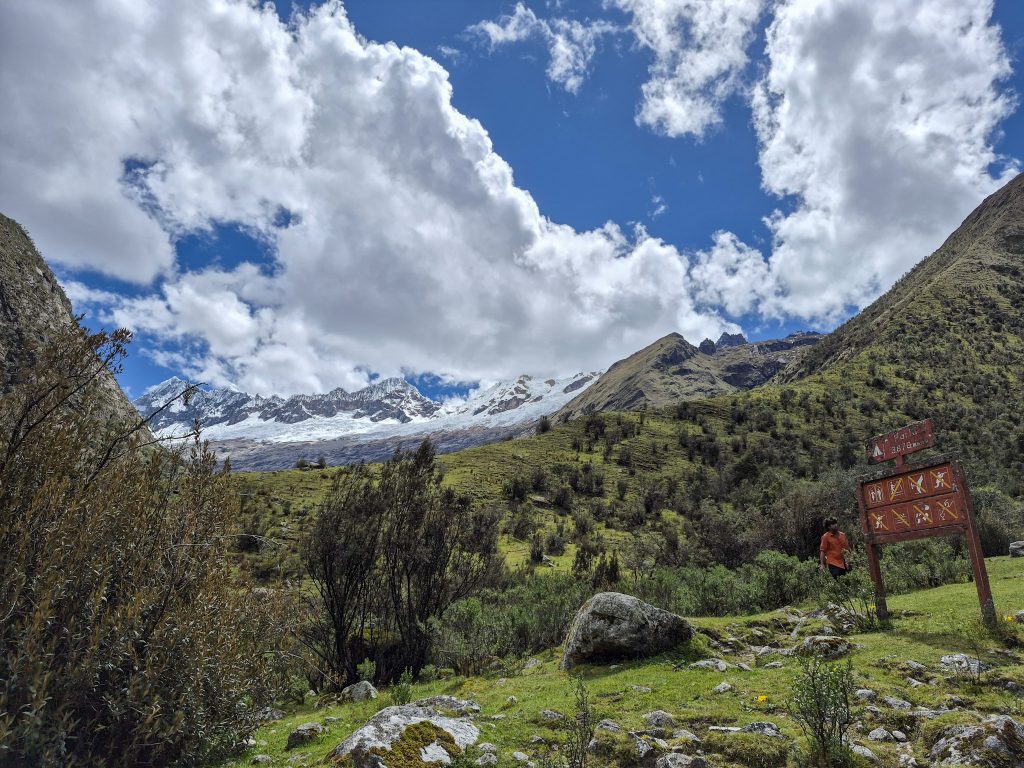
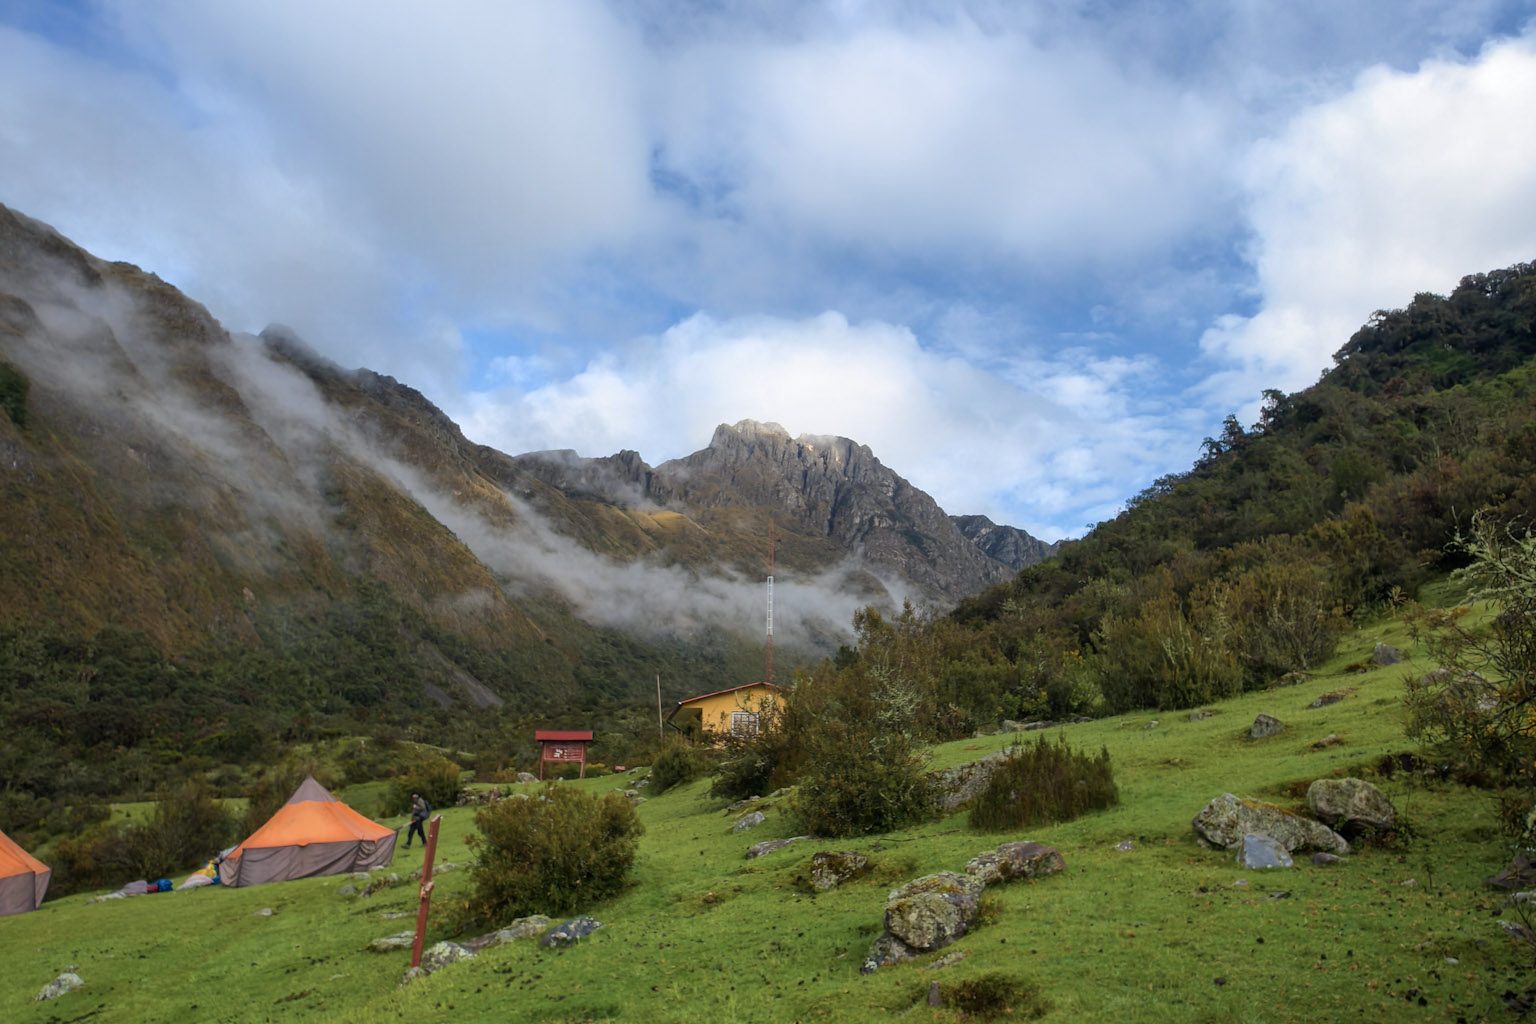
It was one of those situations you don’t plan for, but that end up becoming part of the experience.
Day 4 – National Park Entrace – Vaquería – Huaraz
This was a much shorter day, since we had already covered more distance the day before. In about two hours, we reached Vaquería, where we waited for the transport back to Huaraz.
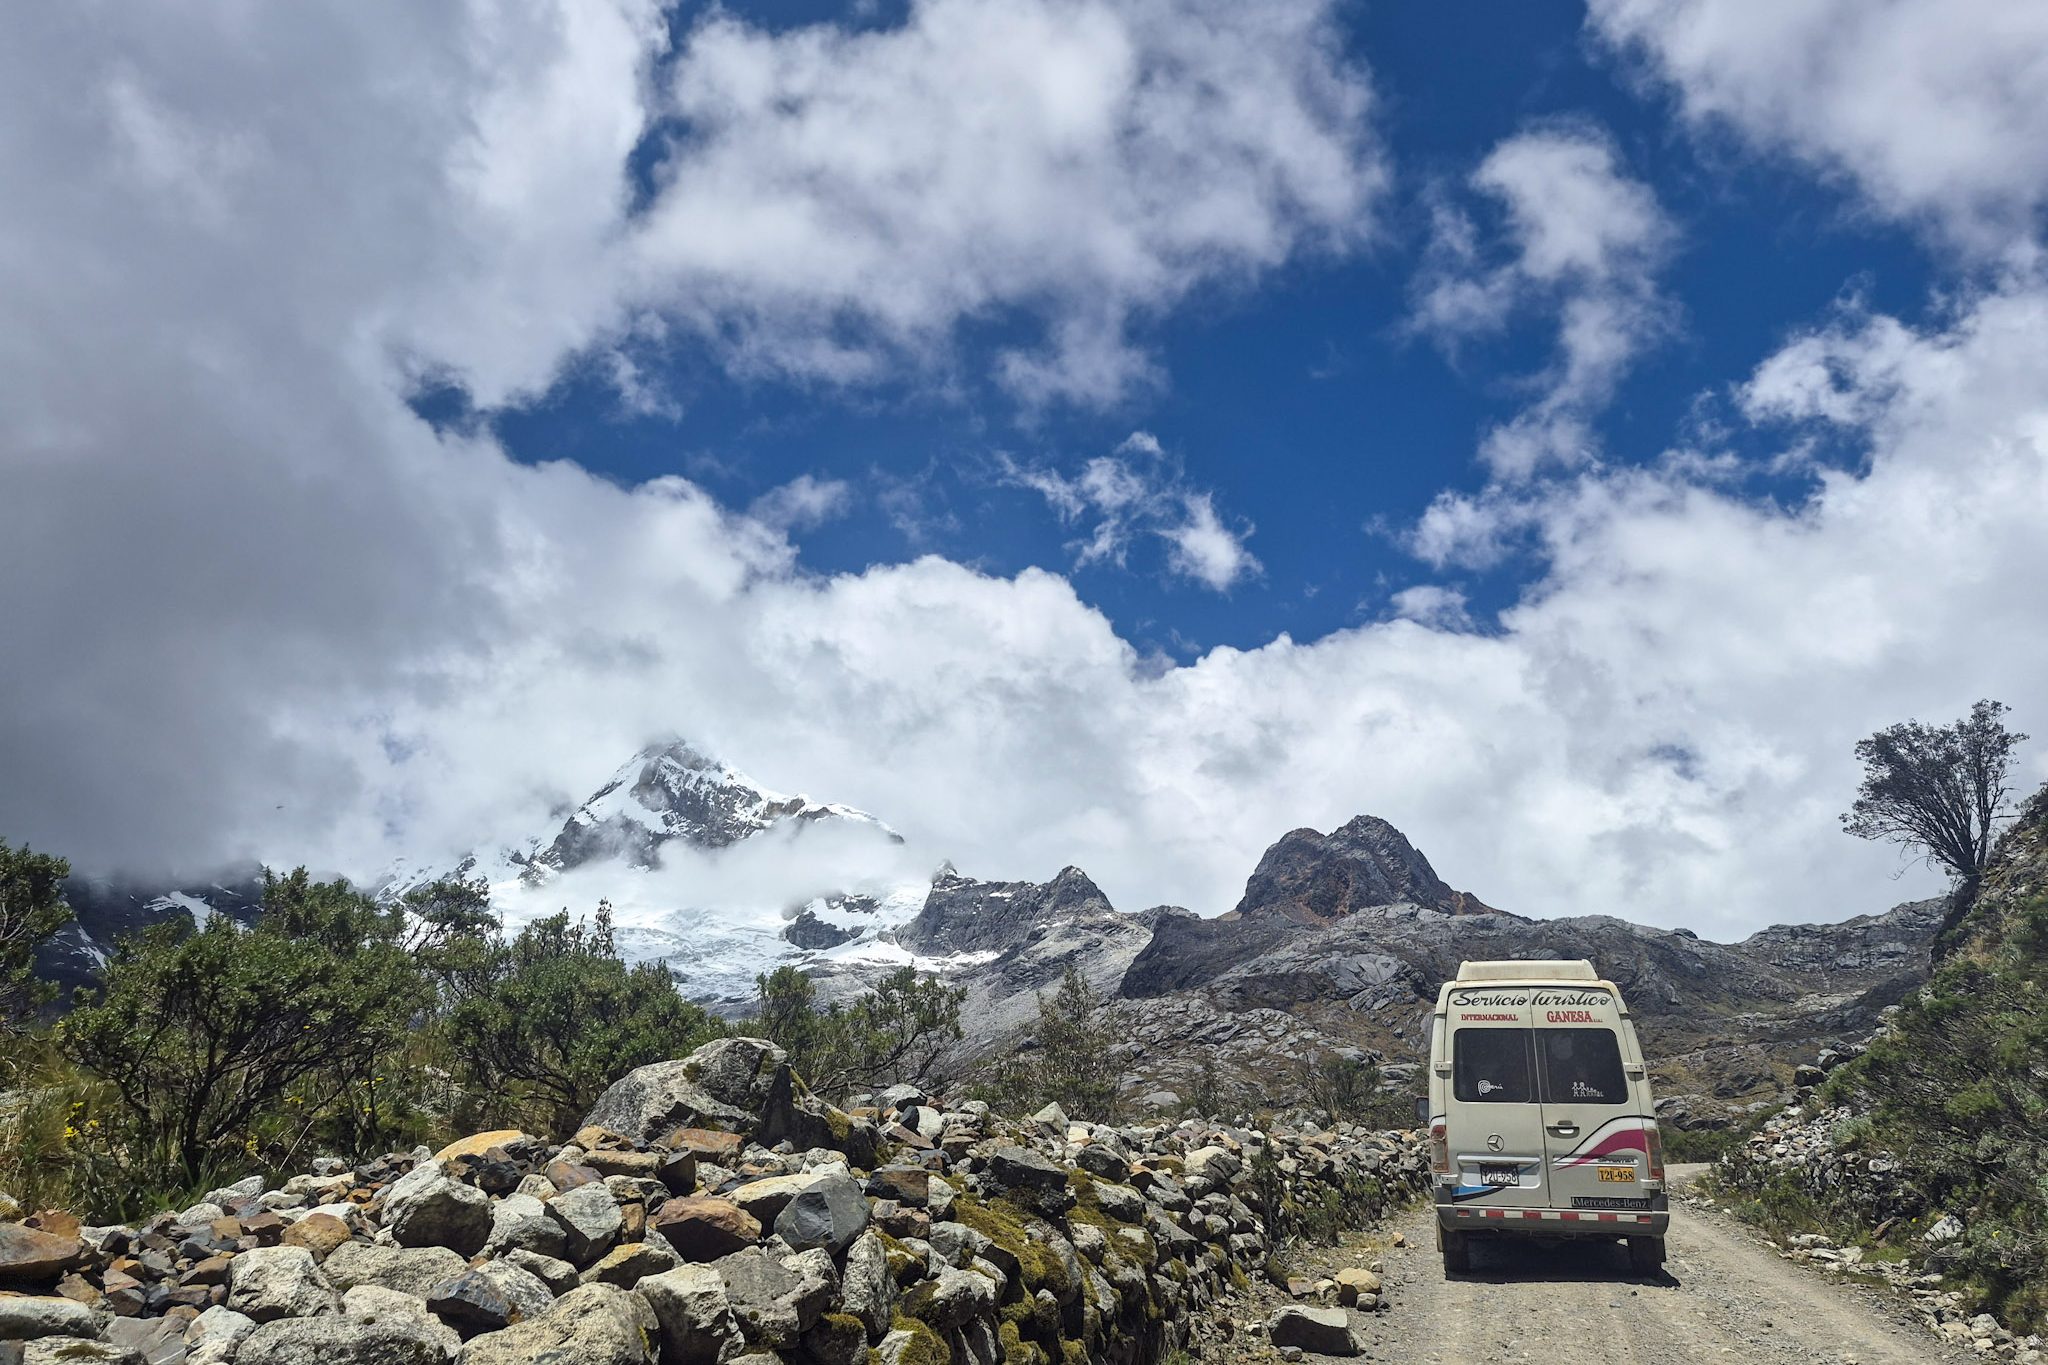
The return journey was incredibly scenic. You can see several of the highest peaks in the Cordillera Blanca, including Huandoy, Pisco, Huascarán, and Chopicalqui, as well as a panoramic view of the Llanganuco lakes from above.
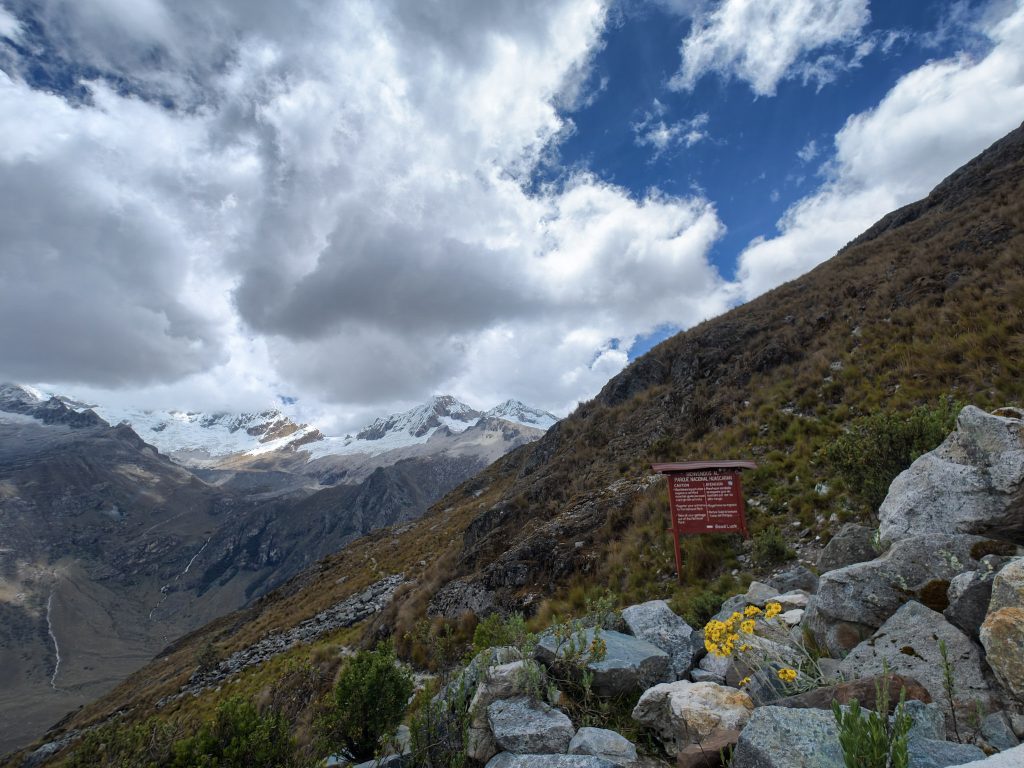
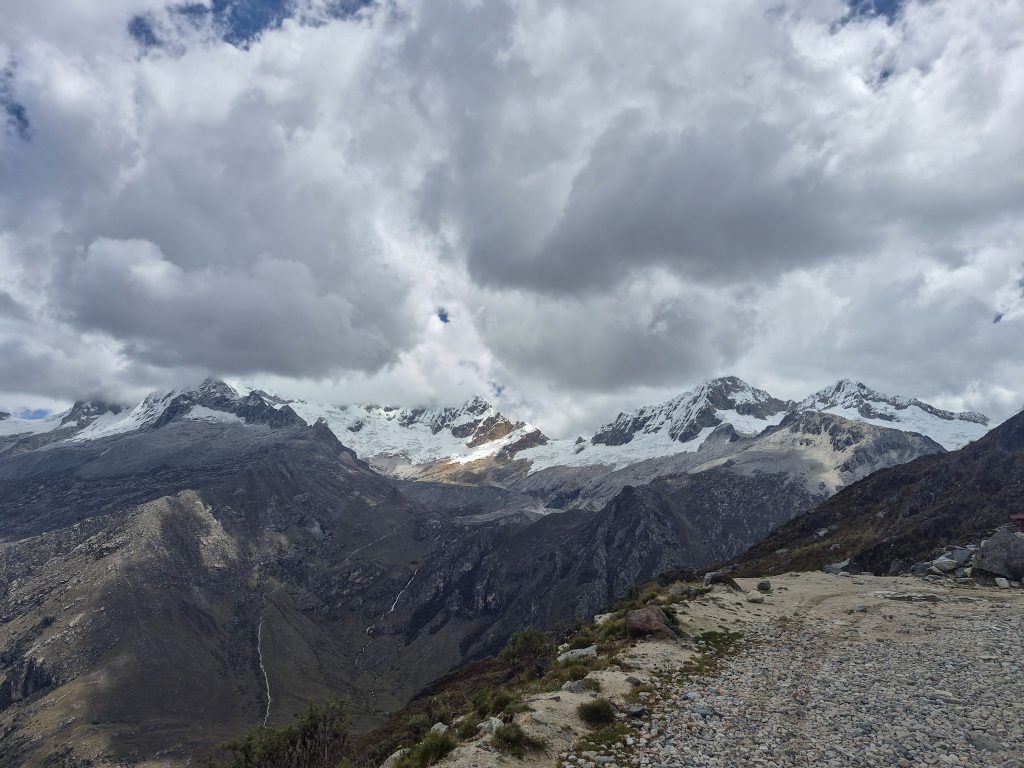
We arrived in Huaraz between 4 p.m. and 5 p.m. They dropped each of us off at our respective hotels, and that’s how we said goodbye to one of the most beautiful experiences, with unforgettable memories and the joy of meeting wonderful people along the way.
🚐 How to do the Santa Cruz trek from Huaraz
Option 1: With an agency
Includes:
- Transportation
- Guide and porter
- Meals
- Camping equipment
💡 Ideal if you want a smoother, worry-free experience.
Option 2: Independently
More flexible, but requires planning.
You’ll need to organize:
- Transport to Cashapampa or Vaquería
- Return from Vaquería or Cashapampa
- Food and camping gear
💡 Recommended only if you have experience with multi-day treks.
🎒 What to pack for the Santa Cruz trek
- Sleeping bag (cold nights)
- Layered clothing
- Rain jacket
- Sunscreen
- Snacks
- Trekking poles
- Camping tent and food (if you going solo)
⚠️Tips for the Santa Cruz trek
- Acclimatize at least 2–3 days in Huaraz
- Keep your own pace, especially before Punta Unión
- Bring cash for park fees and extras. If you need to withdraw cash, I recommend using the Multired (Banco de la Nacion) ATMs, since they don’t charge additional fees, but they only allow one withdrawal per day per card.
💰 Cost of the Santa Cruz trek
- Tour: from ~$250 USD (may vary by season and travel agency, depending on the amenities)
- Huascarán National Park entrance: ~60 soles
- Extras: snacks, tips, gear rental
🤔 Is the Santa Cruz trek worth it?
Yes — and not just because of the views.
It’s the combination of landscapes, the progression of the route, and the experience of spending several days deep in the mountains.
If you’re looking for a multi-day trek in Peru that feels both challenging and rewarding, this is one of the best options.
❓ FAQ – Santa Cruz Trek
Is the Santa Cruz trek difficult?
Moderate, but altitude makes it more demanding.
Do you need a guide?
Not required, but recommended for logistics.
How many days is best?
3 to 4 days, depending on your pace.
If you’re planning your time in Huaraz, you might also want to check out the Laguna 69 hike — one of the best day hikes in the area.